So, you've got a project in mind. Maybe it's a new little patio for the grill, a small shed foundation, or patching up an old sidewalk. Concrete seems simple enough, right? Mix, pour, smooth. Well, it's a bit more involved than that, especially if you want it to last. As someone who's poured more concrete than I can count around Aurora, I've seen it all – the good, the bad, and the cracked messes.
Let's talk about what you need to know before you even think about buying a bag of cement, what to expect during the pour, and how to make sure your hard work pays off afterward. And, crucially, when to just pick up the phone and let someone like us at Aim High Concrete Solutions handle it.
Before You Start: Planning & Prep
This is where most DIY concrete jobs go south before they even begin. You can't just dump concrete on dirt and expect it to hold up. This step is 80% of the battle, and it's where you can do a lot of the legwork yourself.
- Figure out your scope: How big is this thing? A small, 4x4 pad for an AC unit? You can probably manage that. A 20x20 patio or a driveway? That's a whole different animal. The bigger the project, the more complex the forms, the more concrete you need, and the faster you have to work.
- Check local codes: Seriously, don't skip this. Even for a small pad, there might be setback requirements or drainage considerations. You don't want to pour something only to find out you have to tear it out.
- Excavation: You'll need to dig out the area. For most slabs, you're looking at 4-6 inches deep, plus whatever you need for your sub-base. Make sure it's level and compacted. This is hard work, but you can rent small excavators or just get a good shovel.
- Sub-base: This is critical, especially with our clay-heavy soil around Aurora. You need a good, compacted layer of gravel (usually 4 inches) under your concrete. This helps with drainage and prevents your slab from cracking when the ground shifts. Rent a plate compactor – your feet won't do the job.
- Forms: These hold the concrete in place until it cures. For small, simple squares or rectangles, you can use 2x4s or 2x6s, staked firmly into the ground. Make sure they're level and square. This is a DIY-friendly step if you're careful.
- Reinforcement: For anything thicker than a small walkway, you'll want rebar or wire mesh. This isn't optional; it gives the concrete tensile strength and helps prevent cracking. Make sure it's lifted into the middle of the slab, not sitting on the ground.
When does this become a pro job? If you're talking about anything with curves, multiple levels, or if you need to tie into an existing structure like a foundation. Also, if the excavation is deep or involves significant grading, you're better off with someone who has the right equipment and experience.
During the Pour: The Race Against the Clock
This is where things get fast. Concrete doesn't wait for you. If you're mixing bags, you'll need a good mixer and a strong back. If you're ordering a truck, you've got even less time.
- Mixing: Follow the instructions on the bag precisely. Too much water weakens the concrete. Too little makes it impossible to work with. Aim for a consistency like thick oatmeal.
- Pouring: Get it into the forms quickly and evenly. Use a shovel or rake to spread it out.
- Screeding: This is leveling the concrete. Use a straight 2x4 or a proper screed board, resting it on your forms, and pull it across with a sawing motion. This takes practice to get right.
- Floating: After screeding, use a bull float or hand float to smooth the surface and bring up the 'cream' (the fine cement paste). This closes up the surface and prepares it for finishing. Don't overdo it, or you'll bring too much water to the surface.
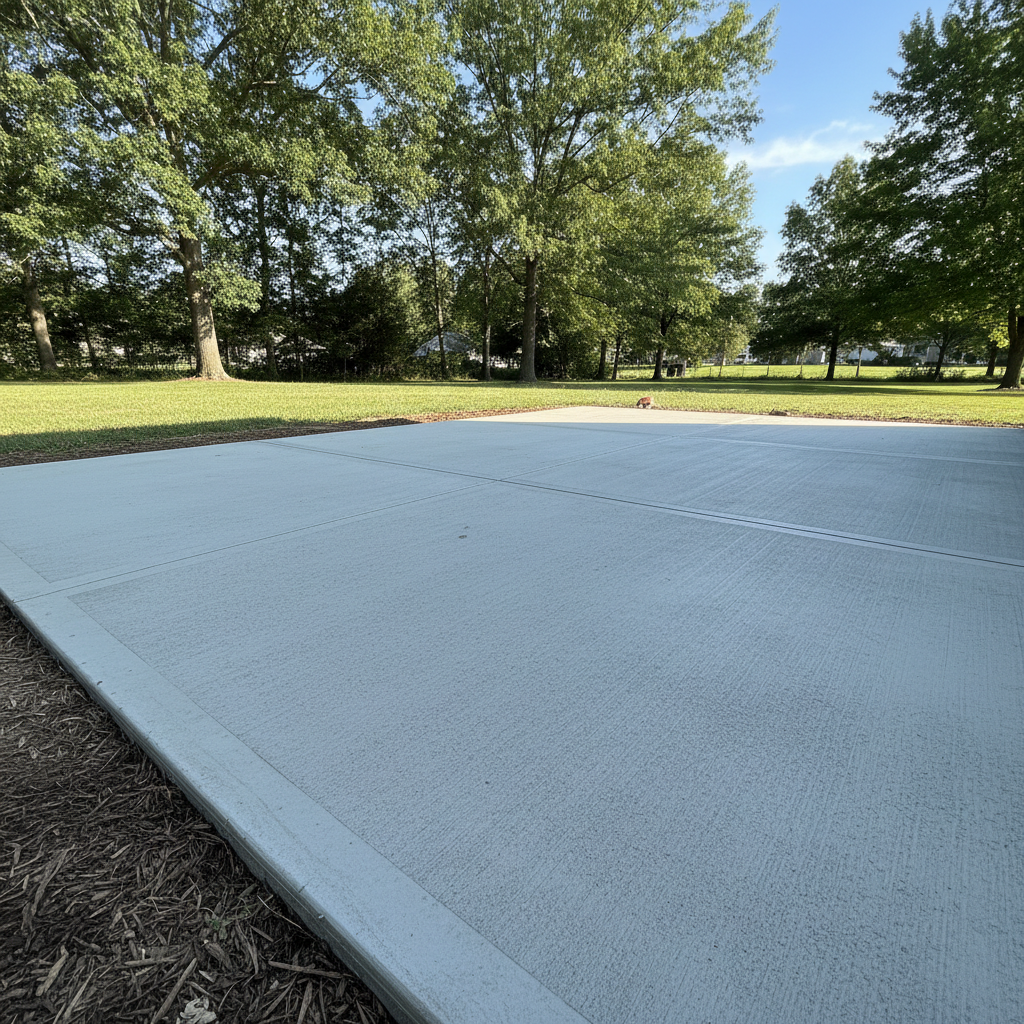
- Finishing: This is where you get the final texture. For a non-slip surface, a broom finish is common. Wait until the water sheen disappears and the concrete starts to stiffen. Then, gently drag a broom across it.
When to call a pro? If you're pouring more than a couple of cubic yards (a small trailer load), you'll need a concrete truck. Managing a truck delivery, screeding a large area, and finishing it before it sets is a team effort and requires experience. If you're doing a driveway or a large patio, you'll want a crew that knows how to work fast and efficiently. They've got the power screeds, the power trowels, and the know-how to get a perfect finish.
After the Pour: Curing & Care
You're not done when the concrete looks dry. Curing is just as important as the pour itself. This is where the concrete gains its strength.
- Keep it moist: For at least 3-7 days, you need to keep the concrete damp. You can do this by misting it with water, covering it with plastic sheeting, or using a curing compound. This slows down the drying process, making the concrete much stronger and less prone to cracking.
- Stay off it: Don't walk on it for at least 24-48 hours. Don't drive on it for 7-10 days, and ideally, wait 28 days for full strength before heavy loads.
- Sealing: Once it's fully cured, consider applying a good quality concrete sealer. This protects it from stains, moisture, and extends its life, especially with our freeze-thaw cycles here in Southwest Missouri.
Look, a small, simple concrete pad is definitely something an ambitious homeowner can tackle. You'll save some money and learn a lot. But for anything bigger, more complex, or where a perfect, long-lasting finish is critical, don't hesitate to call in the experts. We've got the equipment, the crew, and the experience to make sure your concrete project is done right the first time.